This is a guide on how to initially set up your Raspberry Pi. Specifically the CanaKit Starter Kit.
Unboxing
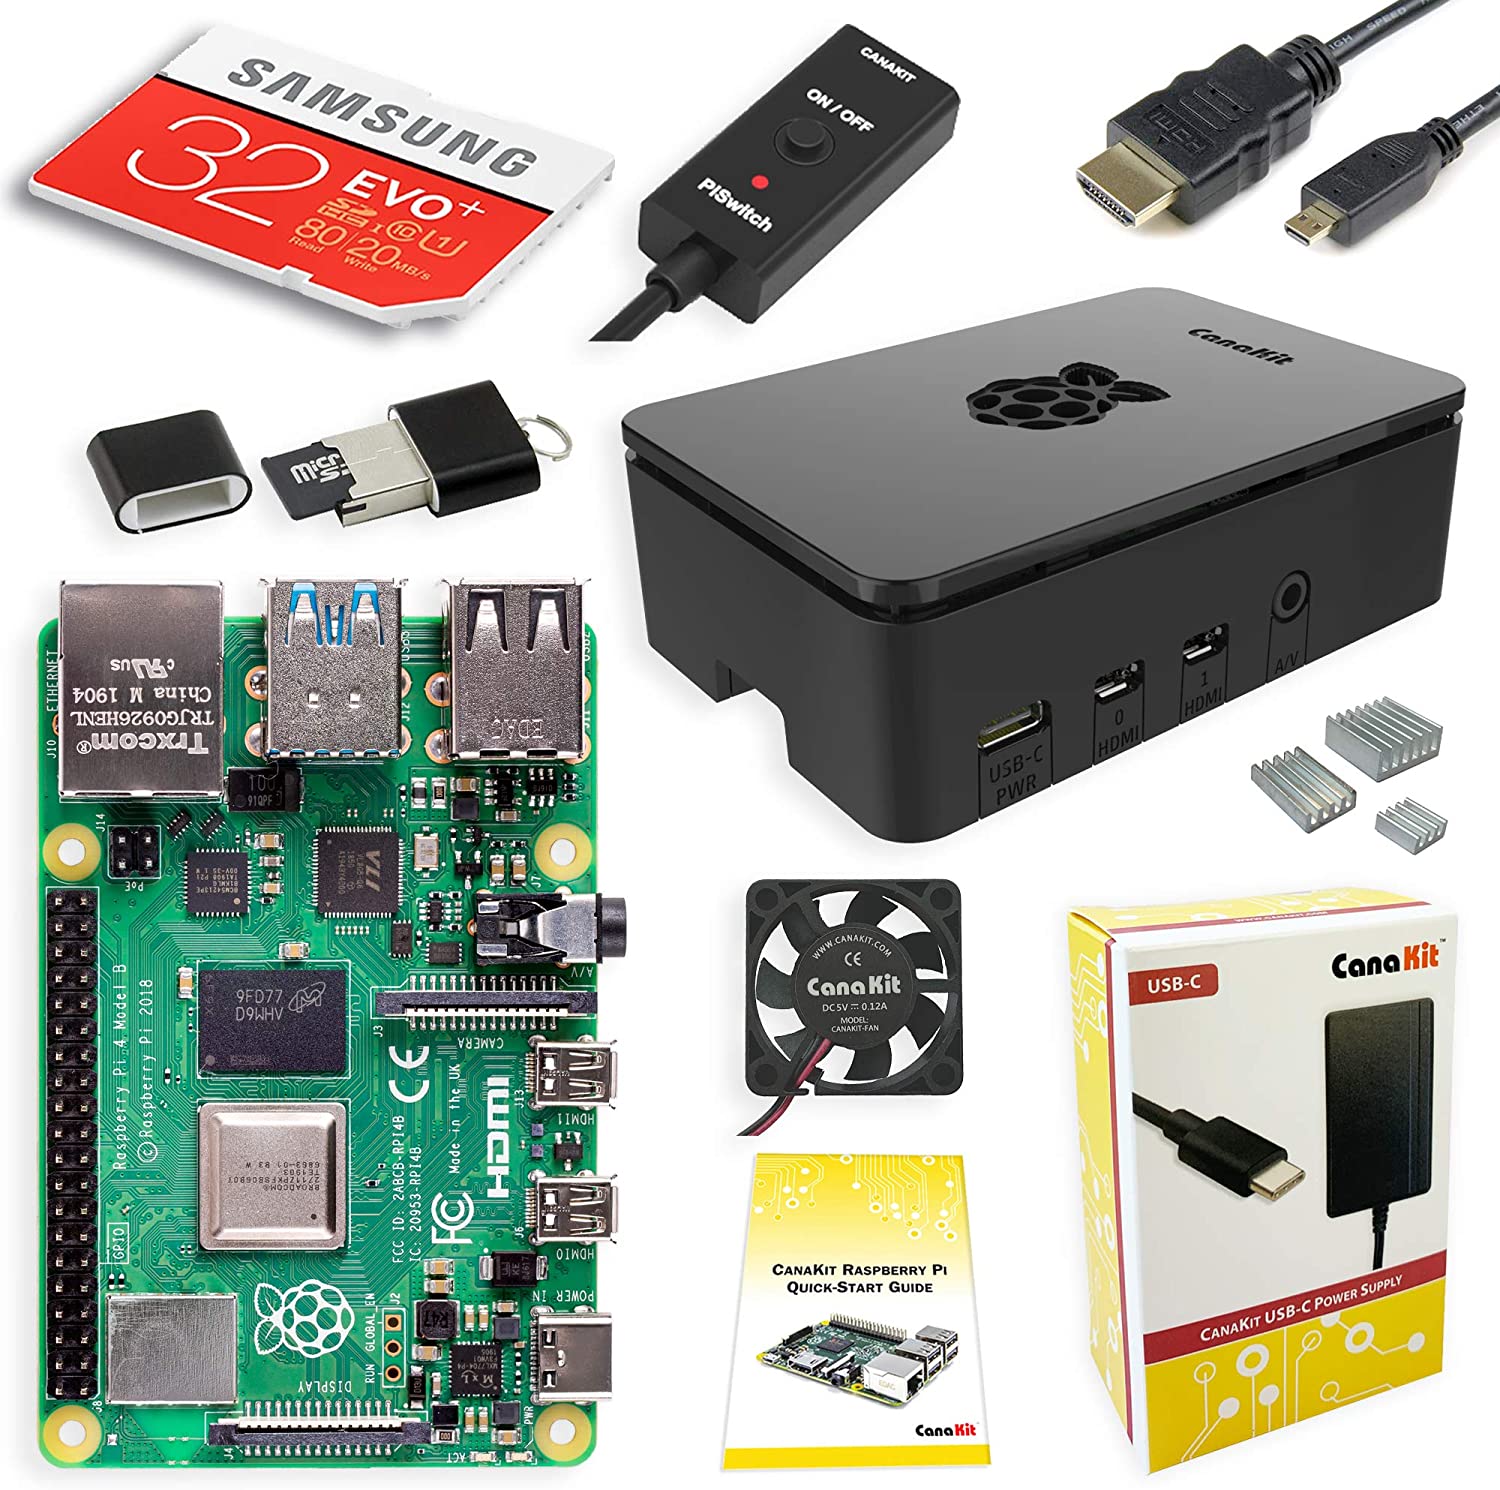
In the box you should have:
- Computer
- Case
- Power cable
- Fan
- 3 heatsinks
- Micro SD card
- On/off switch
- USB Micro SD card reader
Installing the heatsinks
There are 3 heatsinks that need to be installed. 1 for the CPU, 1 for the SDRAM and 1 for the USB controller. Follow the diagram below to know which heatsink goes where.

When you are ready to install you heatsink, remove the blue film from the back of the heat sync and press it on firmly. I find it easier to start with the smallest one.
Once you have installed all 3 it should look like this.

Installing the fan and the case
The case opens up in the three pieces. A bottom, middle and top. Slide the computer in to the bottom piece, making sure to line up the ports.
Now we are going to install the fan. The fan has 2 connection wires. One for power and one for ground. You are going to connect these wires to the GPIO Header pins. make sure to connect it to the two pins showed here. Take the black connection at the end of the wire and press it on to the pin

Once the fan is wired feed it through the middle part of the case. Then line up the middle part of the case with the USB and ethernet ports and press it in to place
Now take the fan and press it in to the top part of the case. Make sure you can see the CanaKit label.

Lastly make sure the wires are out of the way and put the lid on to the case. Your Raspberry Pi should now look like this.

Finishing up
Connect the on/off switch to the usb-c power port. Then connect the power cable to the other side of the on/off switch. Your Raspberry Pi is now all set up and ready to turn on. For more info on how to get your pi up and running check out this link.